COGNEX: 3D VISION SOLUTIONS FOR AUTOMOTIVE APPLICATIONS
In manufacturing, operating at high speeds while maintaining or increasing quality is key to staying competitive. The automotive industry has tied speed to cost since the very first assembly line. With the speed of modern production lines, a few minutes may mean the difference between millions of dollars of profit and millions of dollars of loss.
As vehicles become more complex, connected, and regulated, it is imperative that automotive manufacturers inspect processes and materials to protect their customers while avoiding bottlenecks to protect their business. Fortunately, smart cameras and advanced software can work together to solve these challenges. The following examples show how automotive inspection systems integrate 3D machine vision solutions to meet specific requirements and improve manufacturing quality.
Tire Inspection
Tire manufacturers face a multitude of challenges. Tire inspection involves detecting web, overlap, and other defects. Inspecting complex geometries and heights can be difficult for 2D vision systems, especially when detecting black features on a black rubber surface. To capture imperfections accurately and repeatedly, the automotive industry needs 3D solutions.

Developed with Simplicity in Mind
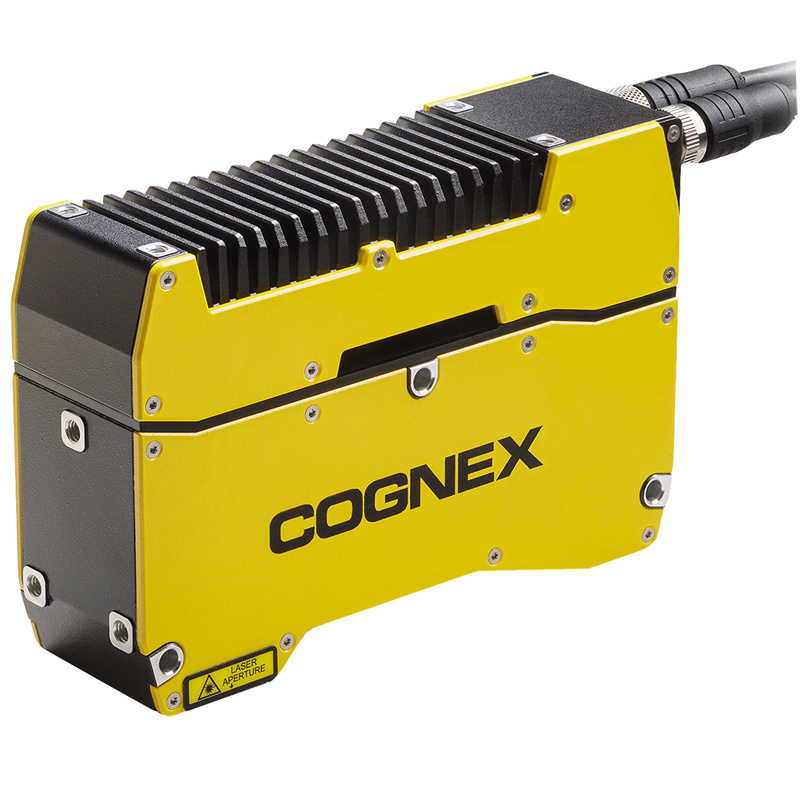
Compact 3D imaging solutions must be easy-to-use and offer software that in-house technicians can simply integrate, manage, and maintain. In a real-world tire inspection application, the Cognex In-Sight 3D-L4000 vision system detects defects in the tire layers. The smart camera works seamlessly with In-Sight software, enabling technicians to quickly set up tools and planes. The software then determines every pixel above and below set planes and presents features and defects with linear measurements in an intuitive user interface. Technicians make changes using the In-Sight spreadsheet programming environment and perform maintenance easily with the In-Sight 3D-L4000’s true 3D edge, blob, and height tools.
Flush and Gap Inspection
Another common application in the automotive industry is flush and gap inspection. This inspection is relatively simple, so the value is in the details. A 2D system can determine if a gap between a door and a body panel is consistent. However, determining if two panels are flush or on the same plane is more complicated for a 2D system. A 3D system can tell if panels are on the same plane, but to find the best solution, manufacturers must consider speed, accuracy, and software.

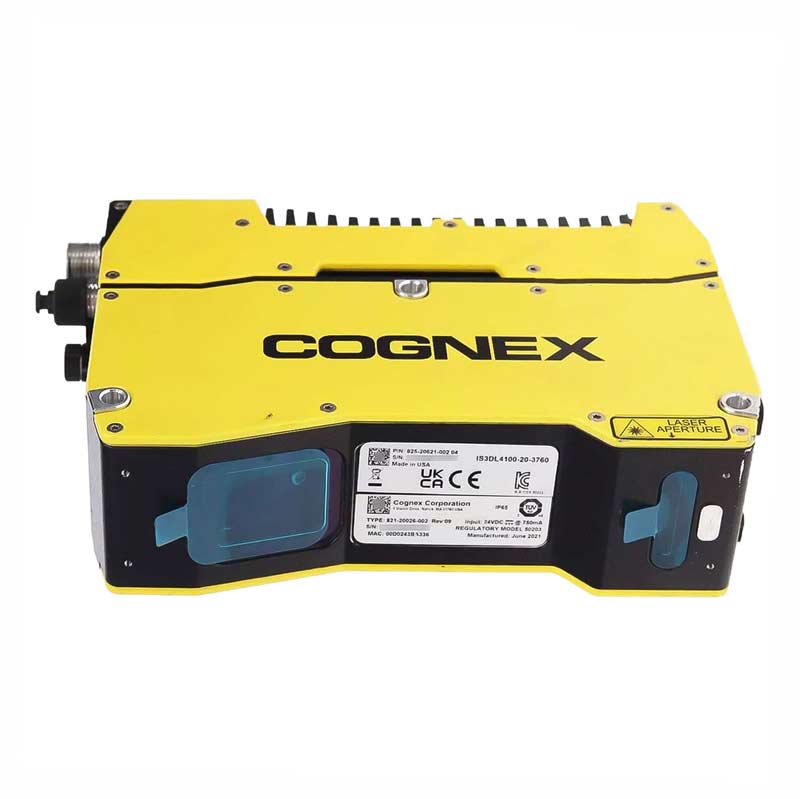
With an automotive OEM, easy-to-use edge, planer, and gap tools are paired with a 3D vision solution that allow operators to quickly set up and accurately perform flush and gap inspections. The compact In-Sight 3D-L4000 smart camera from Cognex uses its high-quality 2K resolution, maximum 4 kHz scan rate, and patented speckle-free blue laser optics to perform machine vision inspection with fast, accurate, and repeatable results.
The In-Sight 3D-L4000’s unique blue-laser optical design has several benefits including:
- Patented speckle-free laser
- 2M eye safe operation
- More light delivered to the surface than competing solutions
- Accurate 3D point clouds for measurements
- Capability to capture a scan even with a percentage of the laser is blocked by debris
This last feature is an unprecedented achievement in 3D laser scanning, made possible by the patented speckle-free laser optics. Most laser scanning applications limit the designer’s option to mount the scanner upside down because of concerns about debris blocking the laser light.
Robot assembly benefits from compact design
While the Cognex software and smart camera work seamlessly together in this application, the compact design is a large deciding factor in selection of the In-Sight 3D-L4000. When potential solutions — 2D or 3D —require external controllers or connections to a PC, integration is more complicated, and systems can consume more valuable floor space. More specifically, in robotic arm applications, the wires connecting external devices may inhibit movement. The compact In-Sight 3D-L4000 requires no external PC or drivers, making it ideal for quick integration and robotic arm end-effector applications.
Multiple systems can work in flush and gap inspection. However, to compete in the automotive industry, it is important to find the best solutions. With its ease of use, integration capabilities and compact design, the In-Sight 3D-L4000 offers the biggest competitive advantage on the inspection line.
Along with easy-to-use edge, plane, and height tools for continuous and non-continuous inspection, the In-Sight 3D-L4000 offers a blob tool for volume measurements to improve cast and molded part inspection to improve quality and reduce defects in the automotive manufacturing environment.
Casting and Injection Molding Inspection
Casting and injection molding are precise processes. Temperatures, ambient conditions, wear and tear over time, and other variables can cause flashing and short shots. Inspecting molded parts is not just about passing or failing a part. Inspection is also about knowing if a part is complete or requires post-processing. With the number of parts produced by the automotive industry each year, inspection is critical to achieving a consistent supply chain of reliable parts.

In an automotive casting process, the In-Sight 3D-L4000 increases production and maintains quality by applying intuitive tools to precisely inspect automotive part volumes for flashing and short shots.
Using a smart camera, the In-Sight 3D-L4000 verifies overall volume of parts in two main ways:
- The intuitive PatMax3D – which finds the part in 3D space.
- Blob3D for measuring volumes and inspecting for defects.
The smart camera is equipped with In-Sight software, which presents data in spreadsheets to communicate defects clearly and effectively. The user-friendly interface also allows in-house technicians to learn the software in minutes. The In-Sight 3D-L4000 is an all-in-one 3D solution that produces valuable results for casting and other inspection processes in the automotive industry. Each application successfully and quickly integrates advanced 3D vision solutions into high-end automotive inspection processes.
Manufacturing is more automated, connected, and faster than ever. To stay on the leading edge of competition in the automotive industry, easy-to-integrate solutions like the In-Sight 3D-L4000 are needed.
For more information:
- Address: Vân Tra, An Đồng, An Dương, Hải Phòng city
- Hotline: 0936.985.256
- Email: baoan@baoanjsc.com.vn
- Website: https://baoanjsc.com.vn
- Fanpage: https://www.facebook.com/BaoAnAutomatio

